Let’s do this!!!
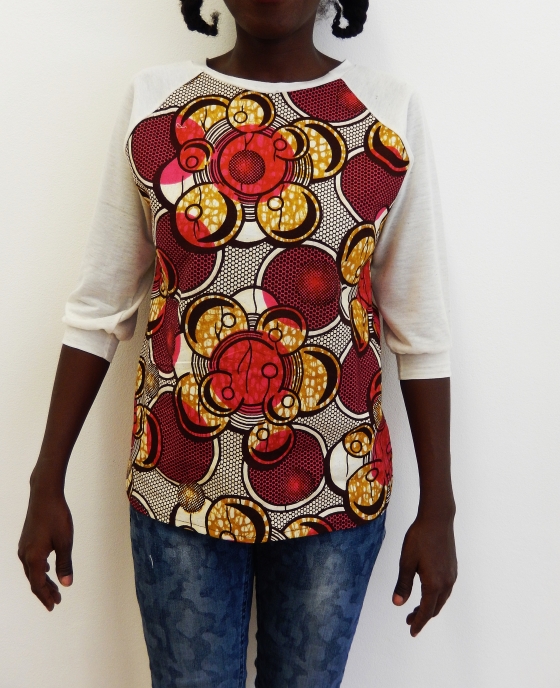
Shirt #4 African wax print & knit jersey

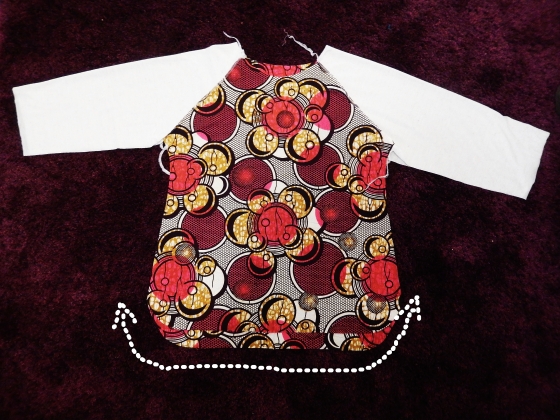
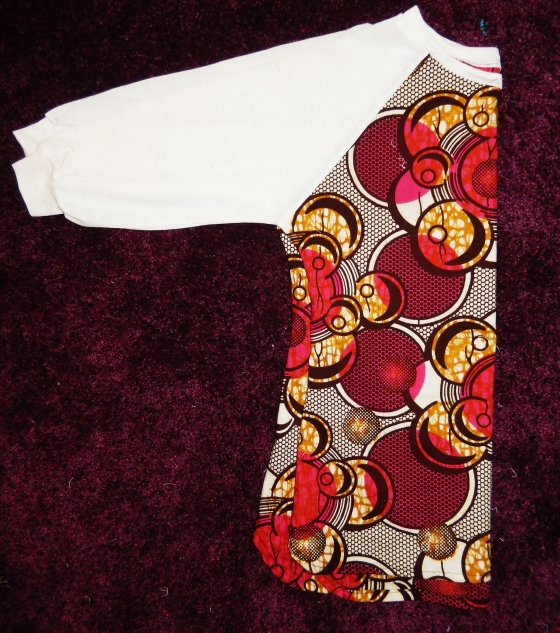
Side view. Curved hem
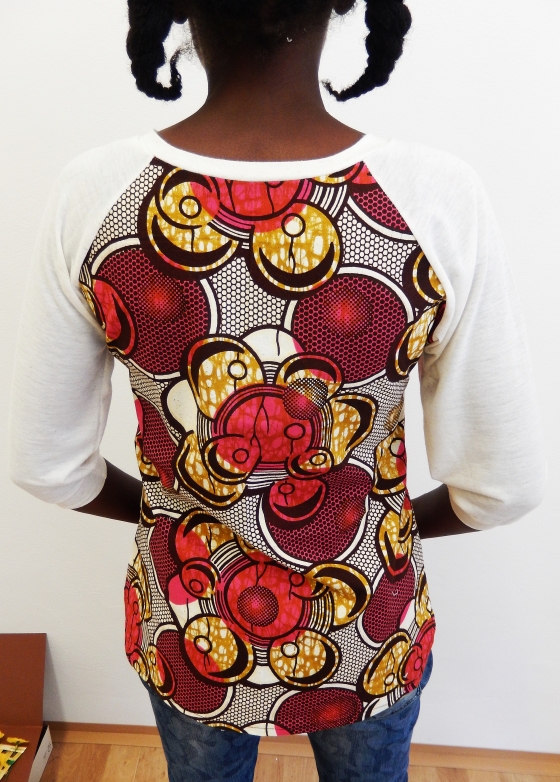
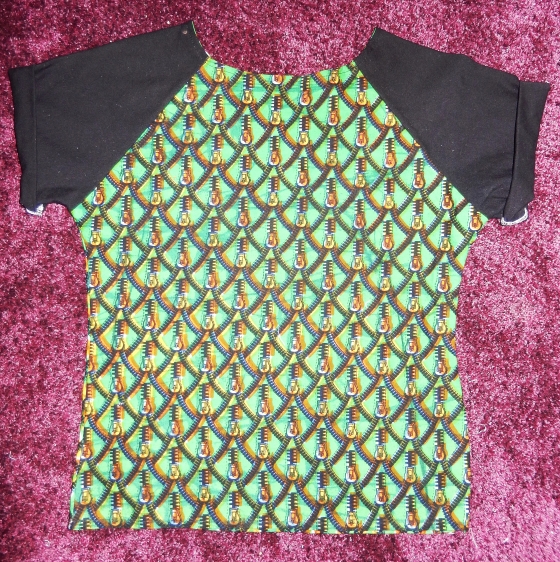
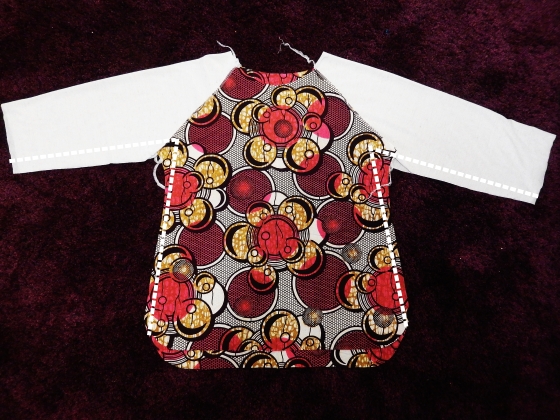
The back
Let’s get straight to it. I ended the last post with the pattern pieces prepared, so we’ll just pick up from there. Now, on to cutting out your fabrics. I started out with the main pieces. As this was the 4th shirt I was making, I wanted to vary it up just a bit with a curved hem. The truth is, I had originally planned for the very first shirt to have a curved hem, but all my attempts just ended in frustration. Until I remembered I had pinned a blog post (which I will share later on in the article), that showed how to sew a curved hem.
The really great thing about this pattern is that you can really go all out in experimenting with all kinds of different styles, fabrics and all that good stuff. I have so far made four and they all have a different vibe and I absolutely love all of them, although I have to say I have an especially soft spot for the one I’m covering in this spot.
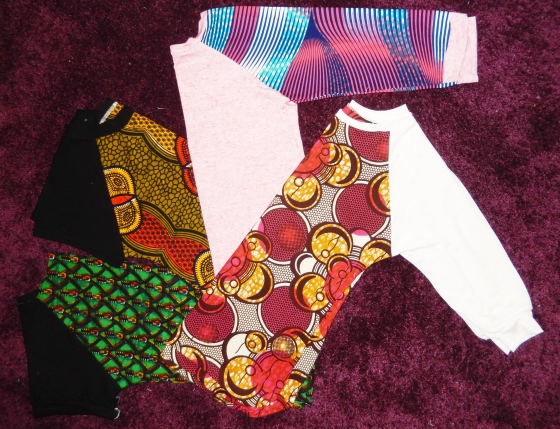
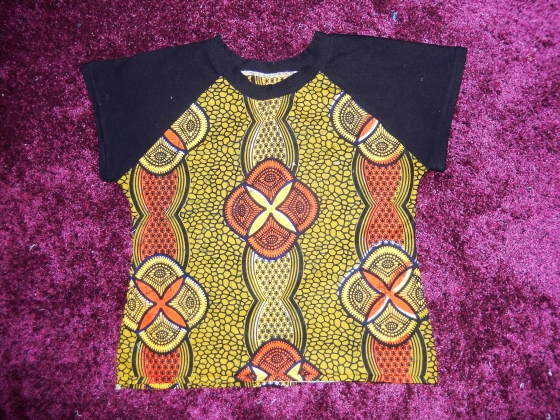
One pattern, four shirts
I think it is because while making this last shirt, I had at this point figured out the pain points, measurements, and I had made the same shirt a couple of times so this one went rather smoothly
Step 1
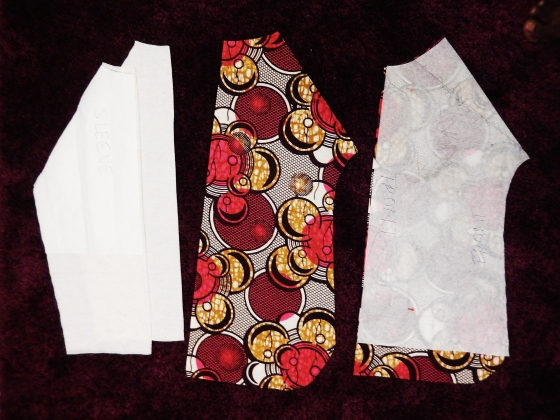
So, with my pattern pieces, I went about cutting out the fabrics. I lengthened the sleeves and added a few inches to the hemline to account for that curved hem I was adding to the pattern.
If this is your first try, I would suggest starting off with the straight hem, it’s just less of a hustle, but I will share a link to a tutorial for sewing a curved hem that I found most helpful. Here is one of the shirts with a straight hem that looks just as gorgeous, me thinks.
Straight hem
Step 2
Line up the sleeves with both front and back pieces, making sure that pieces are facing right side to right side on all seams.
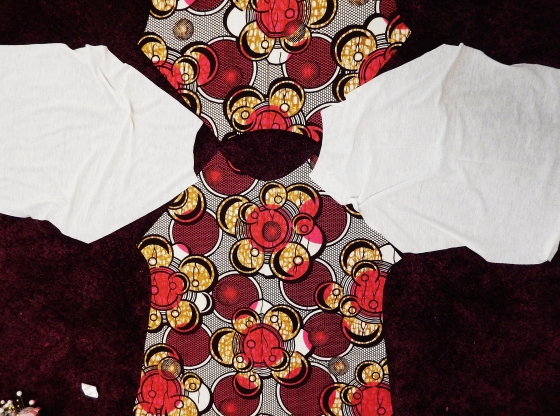
Lined up ready for pinning.
Step 3
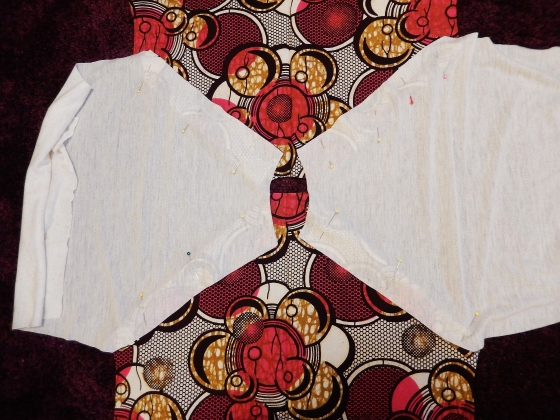
I find if I just pin on one sleeve, sew that seam and then go back and pin the next one, often I will mess up simple things like just matching up right sight to wrong side on the other sleeve, which means ripping seams and screaming into pillows etc. So I find it a lot more practical to pin both sleeves on and sew all shoulder seams in one go.
Pinning sleeves onto front and back piece.
Step 4
Sew all shoulder seams
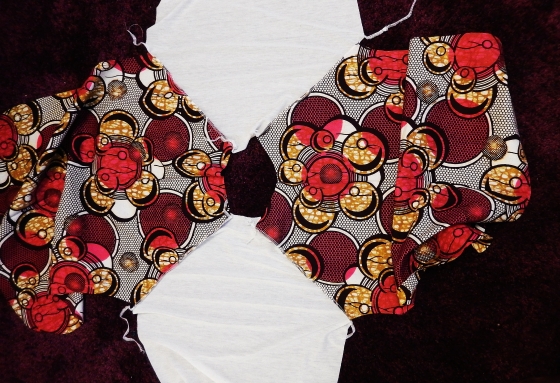
Sleeves attached
Step 4 (Optional)
Step 4 is only if you are sewing a curved hem, if not, move on to step 5. Remember how I said I found a tutorial that save my sanity? I found this gem on Charlottekan.com and the instructions are so clear and she gives you four different ways to do it. God bless the internet.
Sew your hem
Step 5
Sew your side seams, starting from the sleeve, all the way down to the hem.
Step 6
If you are sewing a straight hem, this is when you need to hem up your t-shirt. Don’t forget to iron your seams as you sew, its just keeps your projects looking “homemade”.
So at this point you have the sleeves attached, your side seams are sewn and your hem is in place. Now, all you need is to prepare your neckline. You need to measure out the circumference of your neckline.
Step 7
For the collar band, I cut out a strip of the knit jersey fabric following the instructions on this craftsylish.com tutorial I found on Pinterest.
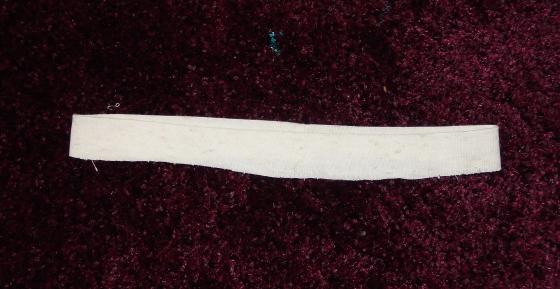
Neckband ready
I had tried to figure out the collar measurements on my own and I had a few gaping issues around the neckline and it wasn’t until I found this tutorial, that I realised that my neckband/collar needed to be about 15% smaller than the circumference of the neckline I had measured out, so the collar could sit flat. All you need to do is slightly stretch out the collar band as you sew along.
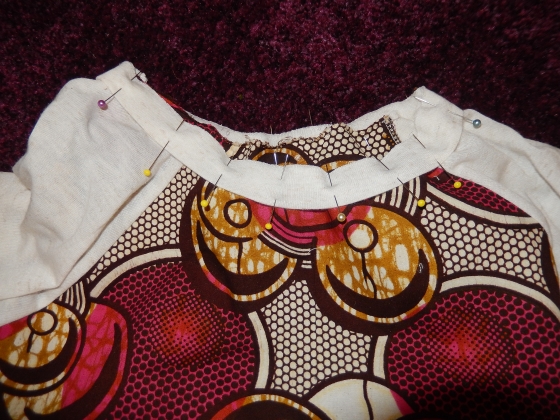
I use a lot of pins just because it gives me better results, otherwise I will get all fidgety.
Collar complete
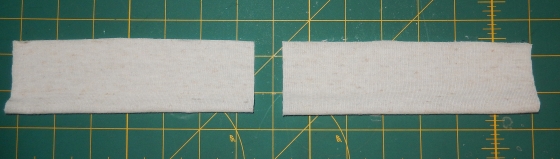
Step 8
For the cuff sleeves, I used the same method as the collar band, I cut out two strips of knit jersey fabric by doubling the length of the sleeve cuff I wanted, and making the width smaller than the sleeve width so there would be a bit of a gather where the sleeve meets the cuff.
I went on to fold each strip right sides facing each other, sewing together the raw edges, turning the fabric right side out and then folding the strip in half to create a sleeve.
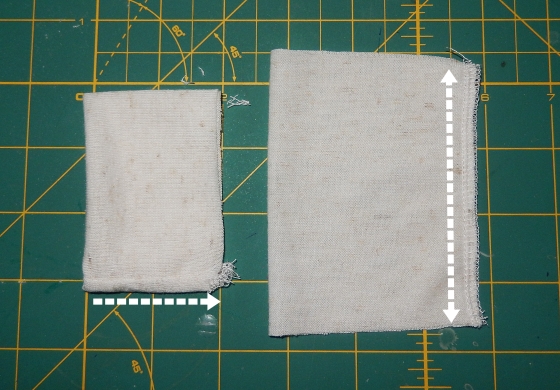
Preparing the sleeve cuffs. Sew lengthwise along the raw edges, turn fabric right side out, and then fold in half to create the sleeve cuff.
Remember to slightly pull on he cuff fabric as you sew along to make sure it fits in the sleeve and creates that gather.
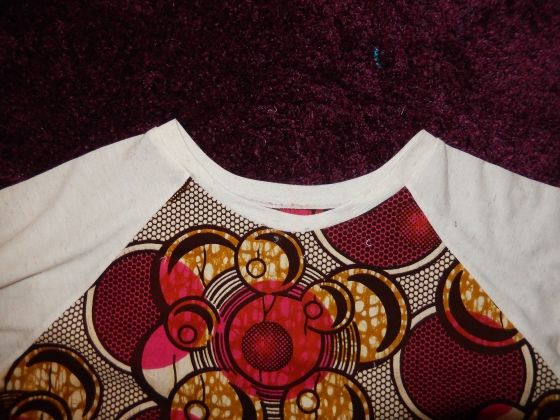
Details; collar, sleeve cuffs and curved hem.
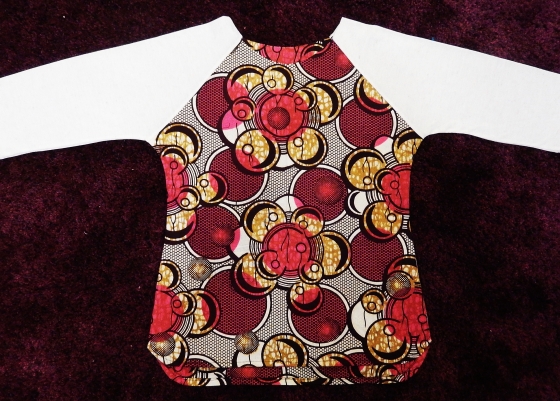
BAM! Shirt complete. Feel free to high five yourself of there is no one to high five you, I did 😀
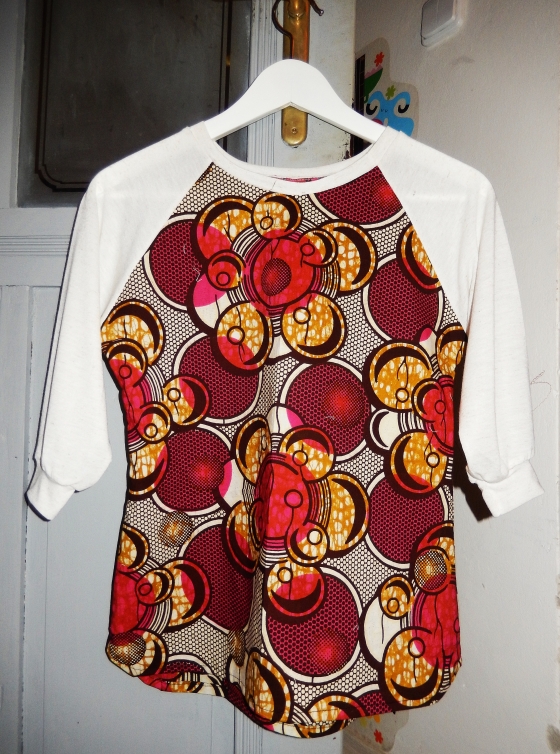
Complete raglan style shirt.
Some more options
If the idea of a collar doesn’t sit well with you just yet, you can just use bias facing to create this neat collarless look. I also have a different take on the sleeves, this time I just straight up rolled up the sleeve with out hemming it and sewed a few stitches to keep the fold permanently rolled up, because I’m rock and roll like that. Here is a great tutorial from seamsandscissors.com for bias facing.
Rolled up sleeves
Short sleeved with a collar option.
That’s all for now, if anything doesn’t make sense or I didn’t provide enough information, feel free to ask, either in the comment section or drop me a message.
Mama out!!
❤ ❤

Nice Job!
LikeLike
Thank you so much 🙂
LikeLike